.
.
(( Note: this article is really long, so if you’re just after the recipe, click this link to jump down the page! ))
.
Here is a recipe to kick start the revised Coco&Me blog!!!
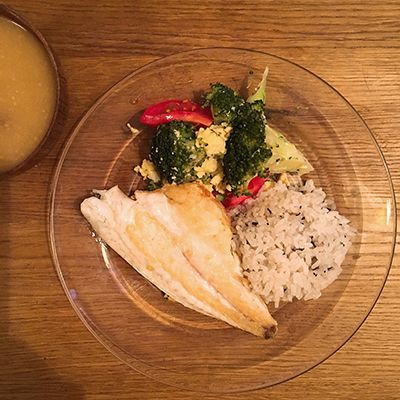
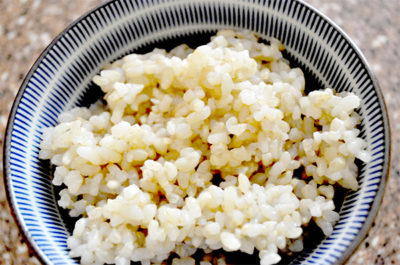
I’d like to introduce to you my go-to recipe for brown rice. It’s probably going to look like no-frills (it’s just rice after all!) but it is perhaps THE apt one to be featured as my first recipe. Because being Japanese, rice is my staple food. It forms the foundation of my meals. It’s so often that I eat it that it makes sense for me to try & make my rice meals healthful by opting for wholegrain brown.
.
Anyway, hope you like the recipe! It’s a bit long winded as always my recipes…, but hopefully I have covered enough material so that I can convey how beneficial it is to opt for brown rice, & how, with the correct cooking method, the time & effort that you’ll put in will reward you with rice that is tasty & that will become your go-to recipe too! :-)
.
.
The case for eating brown rice:
Although we all understand that opting for brown rice is good for our body, a lot of us might be unclear on what on earth it’s really good for perhaps? If someone asked me what each B vitamins are good for precisely, I’d be so fuzzed up! So here is a quick glance chart comparing the nutritional values of brown & white rice, & explaining each’s benefit:
.
Nutritional comparison of brown rice & white rice (per 100g)
.
Nutrition
|
Brown
|
White
|
Benefits
|
| Protein |
7.1-
8.3 |
6.3-
7.1 |
Alkaline forming element is great for digestion, skin & mood. |
| Fat |
1.6-
2.8 |
0.3-
0.6 |
Vegetable fat is unsaturated fat that reduce heart disease & lower cholesterol level. |
| Sugar |
0.8-
1.9 |
0.1-
0.5 |
Brown rice has lower GI, so the glucose is released gradually into the blood. Keeping low blood sugar level keeps life-threatening complications such as diabetic at bay. |
| Fibre |
2.9-
4.4 |
0.7-
2.7 |
Reduces high cholesterol level. It binds to carcinogens & prevents it from attaching to the colon walls thus helps eliminating them from the body. |
| Calcium |
10-
50 |
10-
30 |
Builds & maintains strong bones, muscle contraction, heart & nerve function. Also maintains the acid/ alkaline balance of the body. |
| Phosphorus |
0.17-
0.43 |
0.08-
0.15 |
Filters out waste in your kidneys. Grows, maintains, &Â repairs tissue & cells. |
| Iron |
1.4-
5.2 |
0.3-
0.8 |
Makes haemoglobin that help carry carbon dioxide away from the cells & transport it back to the lungs. |
| B1
(Thiamin) |
0.4-
0.6 |
0.07-
0.17 |
Vitamin B1 helps our body metabolise carbohydrates as energy fuel. |
| B2
(Riboflavin) |
0.04-
0.14 |
0.02-
0.06 |
Antioxidant. It fights damaging particles (free radicals) that contribute to serious illnesses such as diabetes/ parkinson’s disease/ alzheimer’s disease/ cancer. |
| B6 |
0.5-
0.7 |
0.1-
0.4 |
Decreases chances of heart attack/ impact of radiation exposure/ high cholesterol. It increases stamina/ maintains healthy brain function. |
| E
(Tocopherol) |
0.8-
2.5 |
0.1-
0.3 |
Promotes fertility, anti-aging property, healthy skin & hair. |
| Zinc |
1.9-
2.8 |
0.8-
2.3 |
Helps the immune system fight off invading bacteria &Â viruses. Also makes proteins & DNA. |
| Niacin |
3.5-
6.2 |
1.3-
2.5 |
Important in energy production/Â processing fat in the body/Â &Â regulating blood sugar levels. |
| Pantothenic
acid |
1.4-
1.6 |
0.8-
1.3 |
Breaks down fats & carbohydrates for energy. Also important in maintaining a healthy digestive tract. |
| Folate |
16-
20 |
4-
9 |
Important nutrient for before & during pregnancy. Helps the body develop new cells & prevent changes to the DNA that may lead to cancer. |
| Phytic
acid |
0.13-
0.27 |
0.02-
0.07 |
‘Anti-nutrient’. It binds to the beneficial minerals & stops it being absorbed in the intestine. Humans produce very little phytase (enzyme that breaks down phytate) in our body so it’s best to soak the rice to reduce the phytic acid & increase the nutrient bioavailability. Sprouted/ germinated rice is even more beneficial as it increases GABA which helps to lower blood pressure, improve kidney function & stimulates cancer cell apoptosis (cell death). |
(Numeric data from Encyclopedia of Food Grains by Colin W Wrigley, Harold Corke, Koushik Seetharaman, Jonathan Faubion).Â
.
Eating brown rice means eating LIFE:
Did you know that if we sow brown rice, it will sprout? Whereas white rice will just rot? Brown rice, even the rice that’s been packaged & sit on the shop shelves, is still alive. ~ Life dwells in brown rice ~ Isn’t that simply beautiful? Personally, it was this moment of personal revelation that converted me to eat whole grains. It made me realise that, just like how apples that are freshly picked is joyful, the pleasures of eating ‘life’ is joyful. By receiving the life of things we eat, it fuels the burning light of our lives. Eating wholegrain brown rice is obviously nutritious, yes, but there is more to it that science can’t explain ~ it is good for our soul.Â
.
The benefits of chewing:
As it is harder than white rice, brown rice will make you chew more. This might not sound necessarily beneficial, lol, but actually, chewing more has many benefits to offer!
.
– One benefit is that you’ll be eating less & taking in fewer calories! That’s because it takes 20 minutes for the brain to signal that you’re full, so, by having to chew more & consequently eating slower, you’ll be feeling full before you’ve finished the food on your plate!
.
– Another benefit is that chewing food is anti-cancer! Chewing stimulates the salivary glands to produce saliva, & saliva contains peroxidase which suppresses carcinogens in food = preventing cancers!
.
-Plus! As we continue to chew, it gets progressively sweeter! This is because enzymes in saliva convert starch into glucose.
.
Soaking the rice:
As touched upon on the ‘Phytic acid’ part of the nutritional chart above, phytic acid is a bit of a “party-pooper” in this otherwise perfectly nutritious grain. It’s an ANTI-nutrient, meaning, it interferes with the absorption of good nutrients by the intestines, impacting its bioavailability…! :( An enzyme called Phytase is the saviour here (it breaks the phytic acid down!), but very unfortunately, our human body create very few of this enzyme…, it’s just not enough…Â
.
This is the very reason why we have to soak the brown rice for a really long time. Soaking increases the activity of the naturally present phytase in the grain – it breaks the hull of the rice so that we have access to the nutrients inside.
.
My recommendation for how long it should soak is overnight – around 12 hours – & more if you have the time (& patience…!). Start by soaking in lukewarm water (around 30°C), & leave it out at room temperature. After the 6 hour point, you might want to change the water.
.
Pressure cooker:
By cooking in the pressure cooker, your brown rice will be softer & taste less whole-grainy. Â
.
I understand that if you’re new to pressure cooking, anyone at first has hesitation to cook with “Pressure”! I remember that I was too! I was super scared that the lid might blow off & that the hot stew would dangerously spew out! But when once familiarised, there is nothing as convenient. It would ‘boil’, ‘steam’ & ‘stew’, & can of course ‘save time’ & ‘save utility costs’ by dramatically shorten the cooking time.
.
Going beyond just brown rice to keep it interesting!
Exploring variety & getting excited about it is the key to success for continually opting for healthy eating! So here are some variations! It’s also a great way to add more nutrition to your rice with minimal fuss!
.
Brown rice + beans of your choice. (Such as dried chickpeas, adzuki beans, soya beans, cannellini beans and kidney beans).
1.Wash dried beans together with rice.Â
2. Pre-soak the beans together with the rice.
3. Additionally to the water for the rice, pour in the same weight of water as the beans.Â
4. Then cook! So simple!Â
Note 1: I tend to toss in beans that are about 1/10th of the ratio to the amount of rice. Note 2: Adzuki beans does not need pre-soaking! Just add some in just before you cook the pre-soaked rice.
.
Brown rice + pearl barley.
Just replace some of the brown rice with barley. I tend to replace about 20%.
.
Tossing in a spoonful of hijiki or arame (sea vegetables).Â
It brings the ocean flavour to the rice. No adjustments of water needed. No need to pre-soak the sea veggies too.Â
.
Amount:
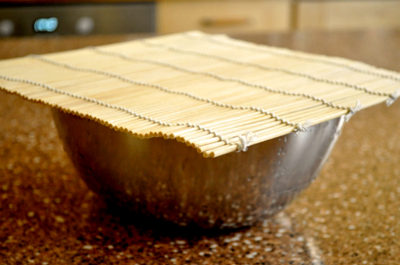
For a family of four like mine, I cook 300g of rice. Most of the time there is some rice left, but I like to cook that little extra to make sure there is always plenty to go around. If & when there is any rice left, I transfer it to a different bowl & once cooled, I place a bamboo mat over it to cover, & leave it out at room temperature. I then have it for breakfast or lunch the following day. Brown rice retains the flavour really well compared to white rice, & it’s still very tasty even if it is not warmed up.
.
Did I convince you?
Maybe you feel a bit resistant…? The fact that you have to steep it in water for over-night might be putting you off? I understand, I was like that before. But! Once you get in to the new slow rhythm of it, you’ll adjust, I promise! :-) It’ll become second nature to remember to prepare the rice in advance, just like remembering to put a shoe on before you go out! And you’ll start to see the benefits too – like how your energy lasts throughout the day! So why not start a brown rice life together with me? :-)
.
.
.
.
Coco&Me’s recipe for fluffy & plump Japanese brown rice (by pressure cooker)
.
Preparation time:Â 5 minutes to wash + overnight to soak the rice
Cooking time:Â 30 minutes
.
Ingredients for 4 servings:
- 300g short grain brown rice
- 1 teaspoon of salt (good quality salt, not table salt)
- 450ml water (Please note, there may be a difference to the cook & feel of the rise due to the brand of the pressure cooker, so please use this figure as a ballpark)
.

.
Method:
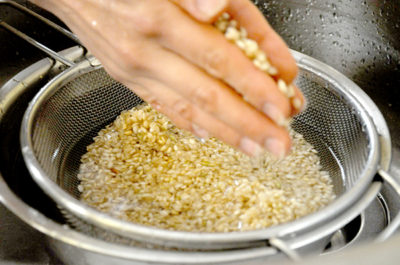
1. Put the rice in a large bowl or pot. Rinse & drain 3 to 4 times.
- TIP 1
For the first rinse, be quite brief about it. Pour in some water & quickly swish & drain. This is because, as the rice is completely dry initially, it rapidly absorbs the most water, & you wouldn’t want the unclear dirty water to soak in to the rice.
- TIP 2
The biggest tip to getting plump rice:
The thin skin on the rice surface has a waterproof membrane, so by rubbing the grain together, you are scratching the surface of the grain, which will let the water penetrate faster. The most effective method to do this is to rub the grain in-between the palm of your hand in the water, just like how you wash your hands. Because the hands are like of the form of worship, in Japanese, we call it the ‘worship wash’.
- TIP 3
When pouring away the water, pour away the floated rice & dust too.
- TIP 4
(optional) I always rinse the rice in a clockwise motion out of habit, ever since I learnt that in traditional Oriental medicine, the clockwise motion draws energy in to the body, whereas counter clockwise will sedate and reduce the energy. ~ I find this pleasing to imagine, although I’d understand if this is sounding peculiarly superstitious! But when I am cooking for my family, I like the idea that I am inserting positive energy in to the foods that enter their body.
.
.
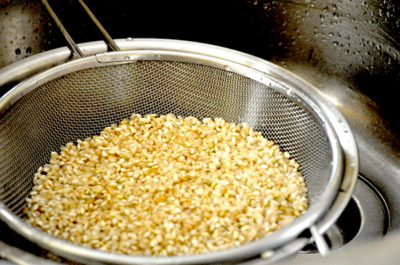
2. Use a sieve/ colander to drain away the water completely.
.
.
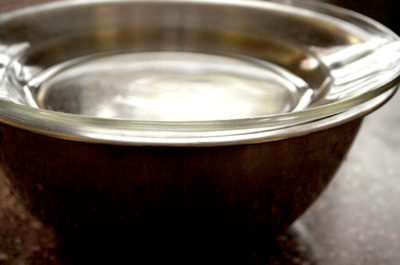
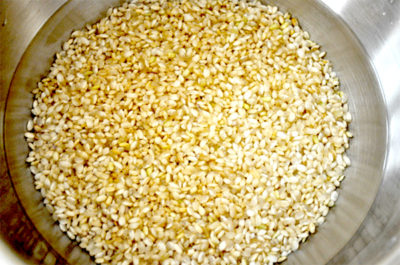
3. Place the washed rice in a bowl/ dish & immerse the rice in clean lukewarm water (around 30°C).
.
.
4. Cover with a bamboo sushi mat or a meshed food cover or a plate to stop any dust falling in & keep it aside for over-night (12 hours) at room temperature. After the 6 hour point, you might want to change the water.
- TIP 5 – You could of course loosely cover it in cling film, but, bamboo mat or a meshed food cover will let the rice breathe. It’s also nicer to be plastic-free! :-)
.
.
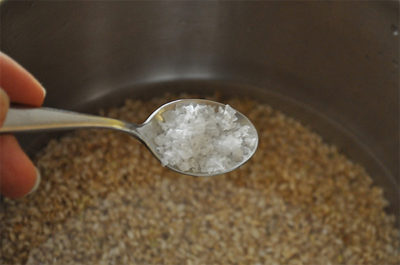
 5. When it is time to cook, drain the rice. Pour in the measured water & add salt.
- TIP 6
Salt here is not because of seasoning. It is used to take away the smell of the bran & cereal germ. Because it is not for seasoning, the amount of salt that you put in is very subtle. Maybe around 1/3 of a teaspoon per 100g of rice is plenty. The benefit of salt extends to increased plumpness as the rice’s absorption rate of the water increases by putting in the salt. Additionally, in Oriental medical term, salt “draws out and strengthens the life force”. A good reason to seek & use good quality salt!
.
.
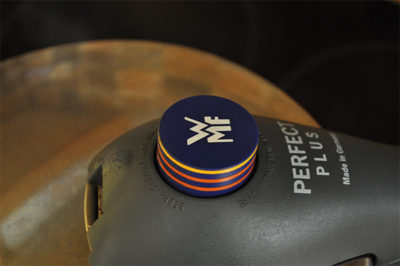
6. Put the lid on, secure the pressure lock & put it on high heat. Then let the gauge on the pressure cooker go all the way to maximum. Once it is at its highest, let it stay like that on high heat for 1 or 2 minutes more, then lower the heat to minimum, & cook for 20 minutes.
.
7. When the 20 minutes have past, stop the heat. But don’t open the lid yet! Let the pressure gauge go down naturally & let it rest for 10 minutes. It’s the last 10 minutes of steaming that is extremely important for fluffy rice!
.
.
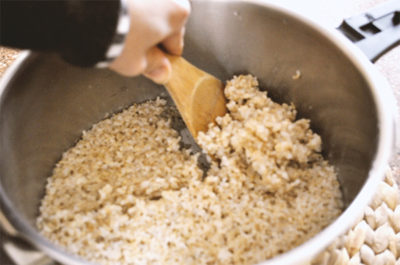
8. When you have finished the steaming, open the lid & use the rice paddle to turn the rice over so that the moisture is evenly distributed.
- TIP 7
To turn the rice without mushing the grain, first cut the rice in a cross, then use the rice paddle to fluff & loosen the rice from the bottom of the pot in quarters. By doing this, you’re distributing the moisture & releasing the trapped vapour. You’re also introducing air, which makes the sweetness & umami of the rice stand out.Â
- TIP 8Â
If you’re putting the lid back on, wipe the excess water on the back of the lid so that it doesn’t drop in to the rice & make it soggy!


