How to make Hello Kitty & Pokémon cookies
.
Backtracking humongously here, but here are some pictures from before Easter.
~ . ~ . ~ . ~ .~ . ~ .~ . ~ .~ . ~ .~ . ~ .~ . ~
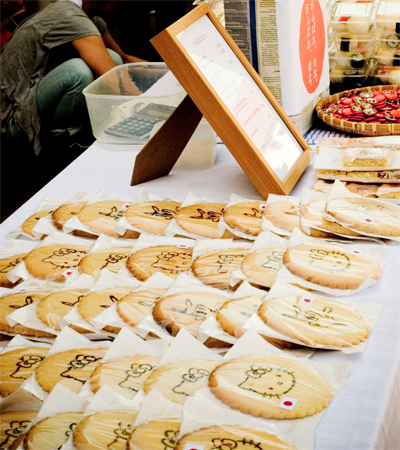
There are seven Japanese mums at my son’s school, & we all got together to raise funds for the Japan earthquake & tsunami relief. We did a sushi & cake sale in the school yard, & I of-course contributed by baking cookies & cakes.
.
Upon setting about doing this, I had a clear criteria to solve. Perhaps it’s the old graphic designer in me, but I love brainstorming. So here’s what I considered:
~ I knew I wanted a Japanese theme to them. ~ It had to appeal to primary school children & their mums. ~ It also must be time & cost effective for maximum return. (The going-rate for cake spendage is 20p to a £1 at a standard school cake sale, so for the pricing to be set so low, the cost of ingredients must stay minimal…) ~ And most importantly, explicitly with NO nuts as the school has a nut-free policy.
.
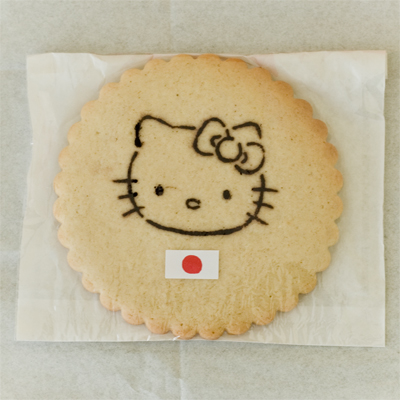
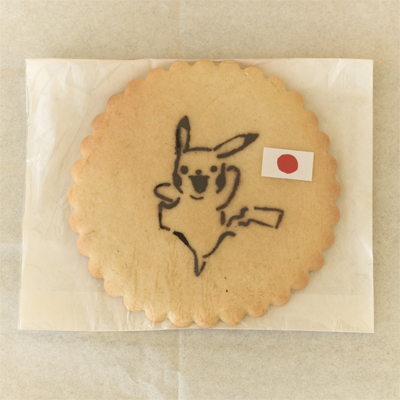
After a quick sesh with my thinking cap on, I figured the best way is to bake cookies but also add value to them by imprinting famous childrens characters. Hello Kitty to appeal to girls, & Pikachu (Pokémon) for boys. As for the cookie recipe, I used the tried & tested Nontan one that I wrote about previously on this blog.
.
To imprint the characters, here’s what I did:
- 1. I found a line drawing that I like on the web.
- 2. Then printed it out b&w to a size that I want.
- 3. Layer a clear acetate sheet on top of print, secure the corners with sellotape.
- 4. Using a thin black permanent marker pen, copy the design on to acetate. (Non-permanent will smudge as you do your cut out work.)
- 5. Place acetate on cutting board, & carefully cut out the black lines. – The important thing to remember when cutting a stencil is that if there is a ‘perfect’ continual line, you have to break it to avoid cutting out the inside. It’s a bit difficult to explain, but think of the inner circle in letter ‘O’ for example. -Â And if you look at the bow on the kitty cookie below, you’d see that there I left gaps in the line to hold the inside.
- 6. When you have finished making the stencil, place it on cut-out cookie dough & dust cocoa powder gently & most importantly faintly to avoid smudges. Carefully remove the stencil sheet off, then bake as per usual.
.
(I used my tart tin as a cookie mold to get the fluted rim.)
(Pre-packaged in a bag for quick sale. Small handmade Japan flag sticker for added touch & charity feel. Lucky that the Japan flag is just a red circle! I wouldn’t have done this if the flag design was complicated! ie; U.S.A!)
(Cookie came big in five inch diameter! But was sold only for a pound! Bargain!! If at my market, I would’ve sold them at £1.50 I reckon!)
.
I made about 55 of these, & they sold within 7 minutes. I didn’t anticipate that most mums would be buying more than one each. ~ I should’ve made more…!!? ^^


